Travel Photo Fails And Fixes
You hiked to that jaw-dropping overlook, only to end up with a photo that is more "meh" than meticulous. The problem isn't your camera, but the little mistakes you don't even realize you're making. Thankfully, there are easy fixes that help you get perfect photos. Here, we'll unpack some classic blunders and also share some tips that'll turn your next travel album into something worth scrolling through. Let's start with the common photo missteps.

1. Not Practicing With Your Camera Before Departure
Most travelers wait until the trip starts to figure out their camera. By then, moments are unfolding faster than they can toggle settings. Skipping prep time leads to fumbling when it’s go time, and you may get home with unimpressive results.
2. Shooting Under Harsh Midday Sun
Midday light looks great to the eye, but on the lens, it casts harsh shadows and flattens details. Numerous travelers snap away at noon, only to discover that their photos are either too washed out or full of unflattering contrast.

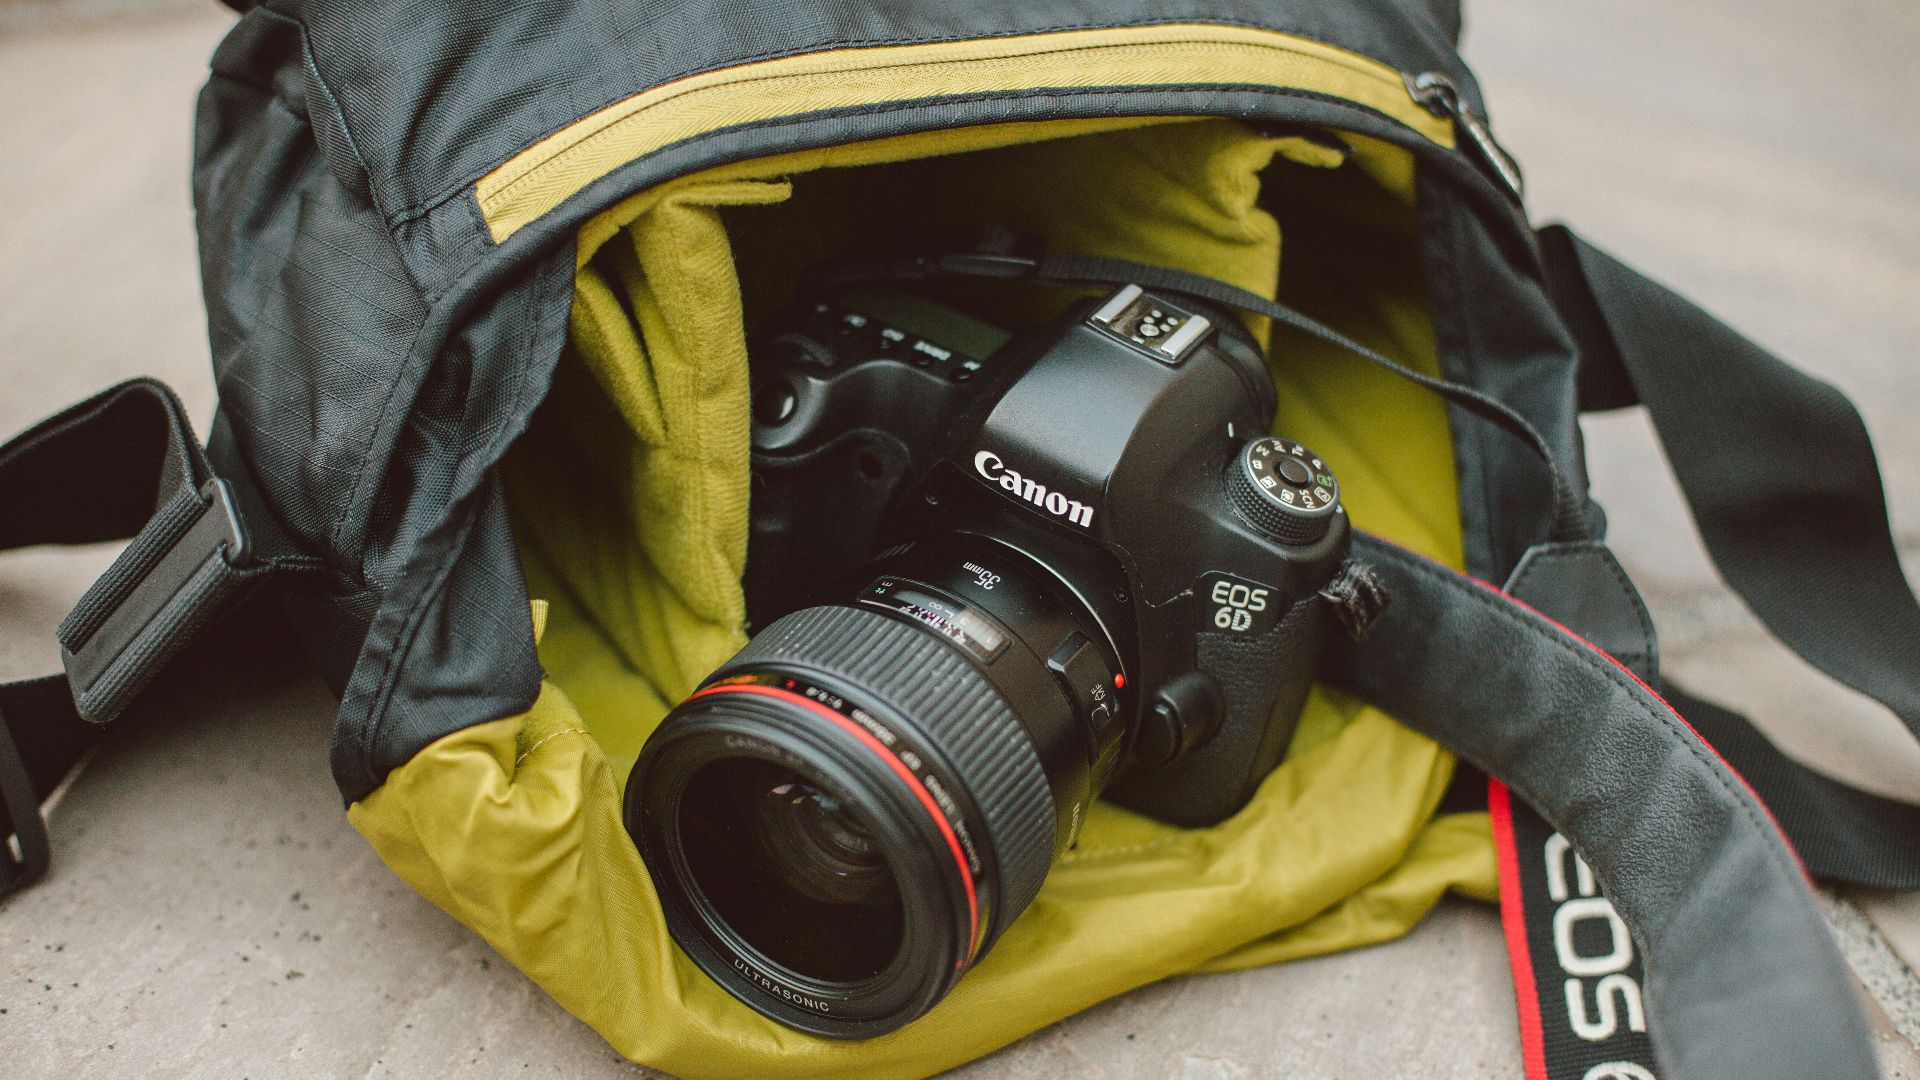
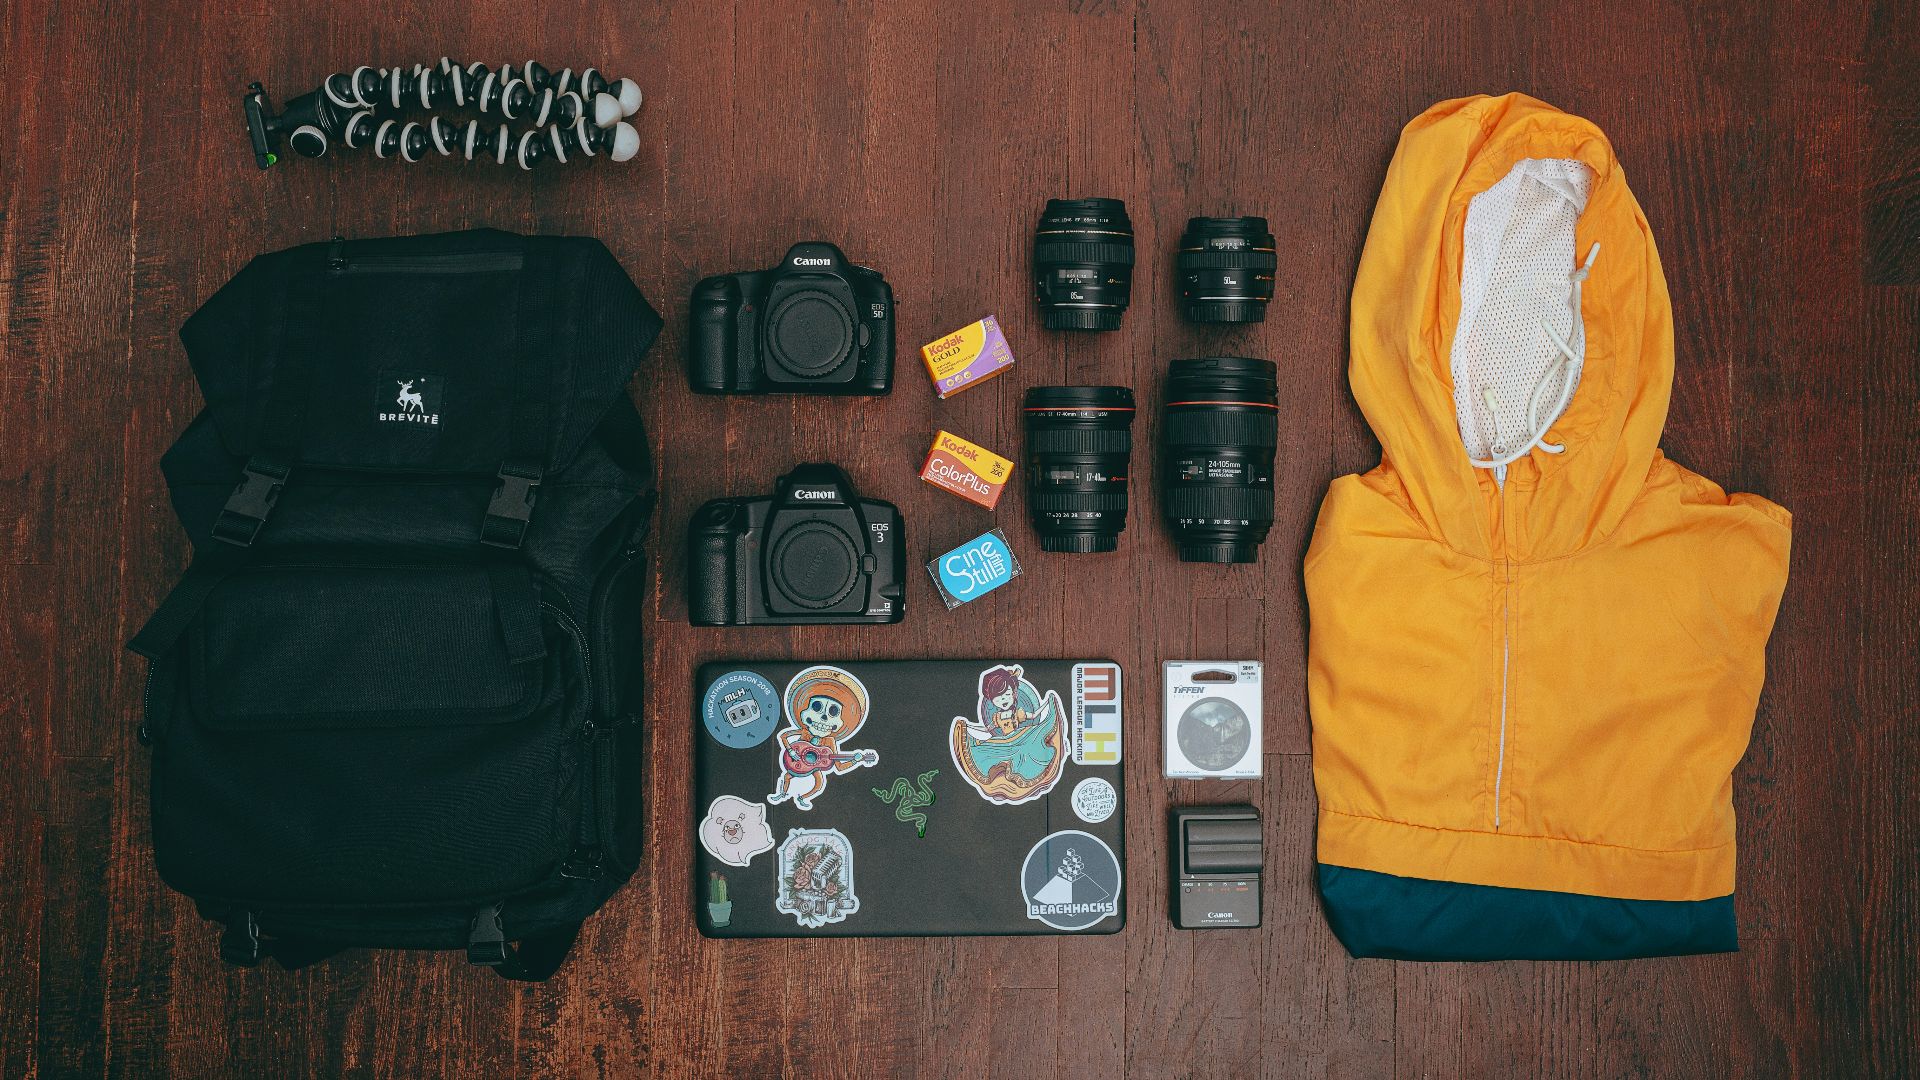
3. Failing To Protect Your Camera Gear
Sand and temperature swings can quietly kill your equipment. Even basic protection like a weatherproof bag can make everything better, but some will overlook it until something goes wrong. Investing in reliable cases keeps your gear functioning when it matters most.
4. Taking Too Few Shots Per Scene
Too few shots means missing subtle variations, like blinking or motion blur. Memory cards aren’t a scarce resource anymore, so you shouldn’t limit yourself. Relying on a single photo to capture a dynamic moment is a risky bet.

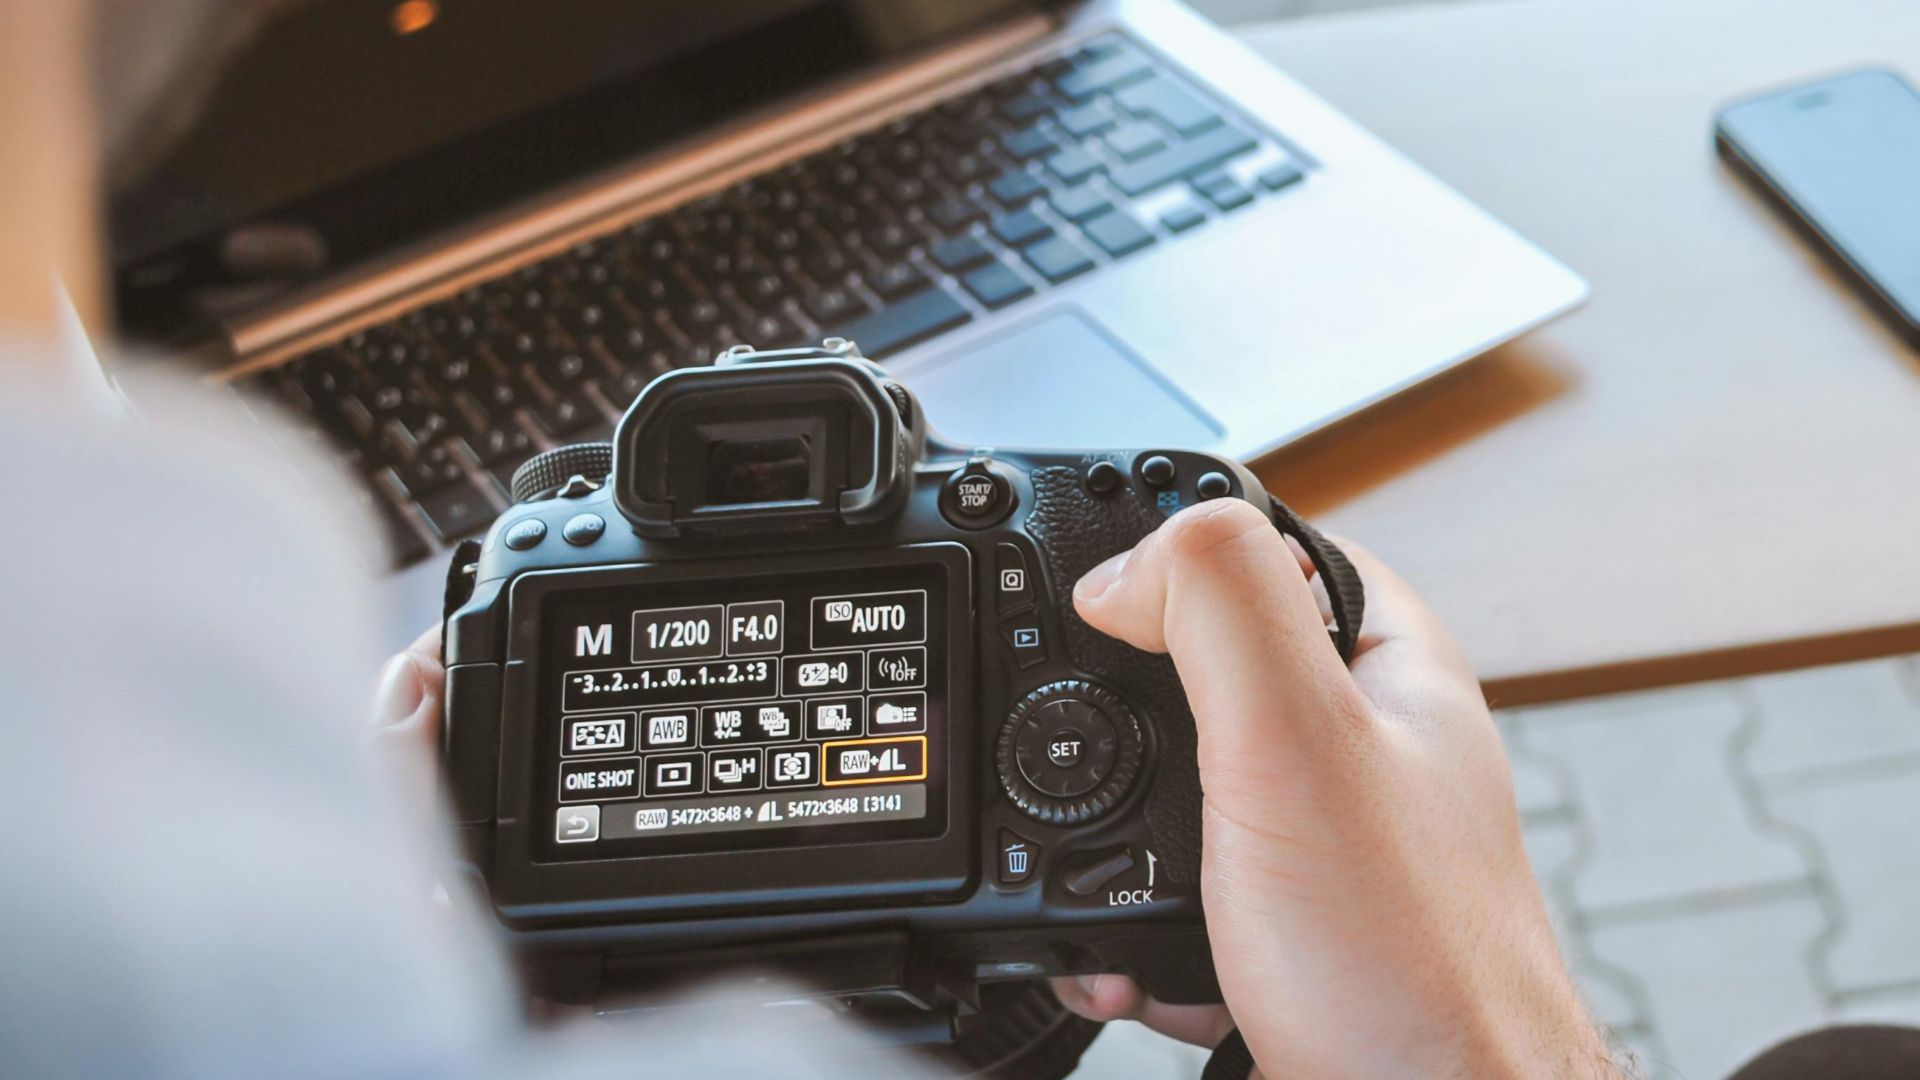
5. Letting Auto Mode Do All The Work
Auto mode guesses, and that guess can fail in tricky light or action scenes. It can’t anticipate motion or creative intent. If you depend on it so much, you’ll get results you may not be able to share with pride, for example, overexposed photos.

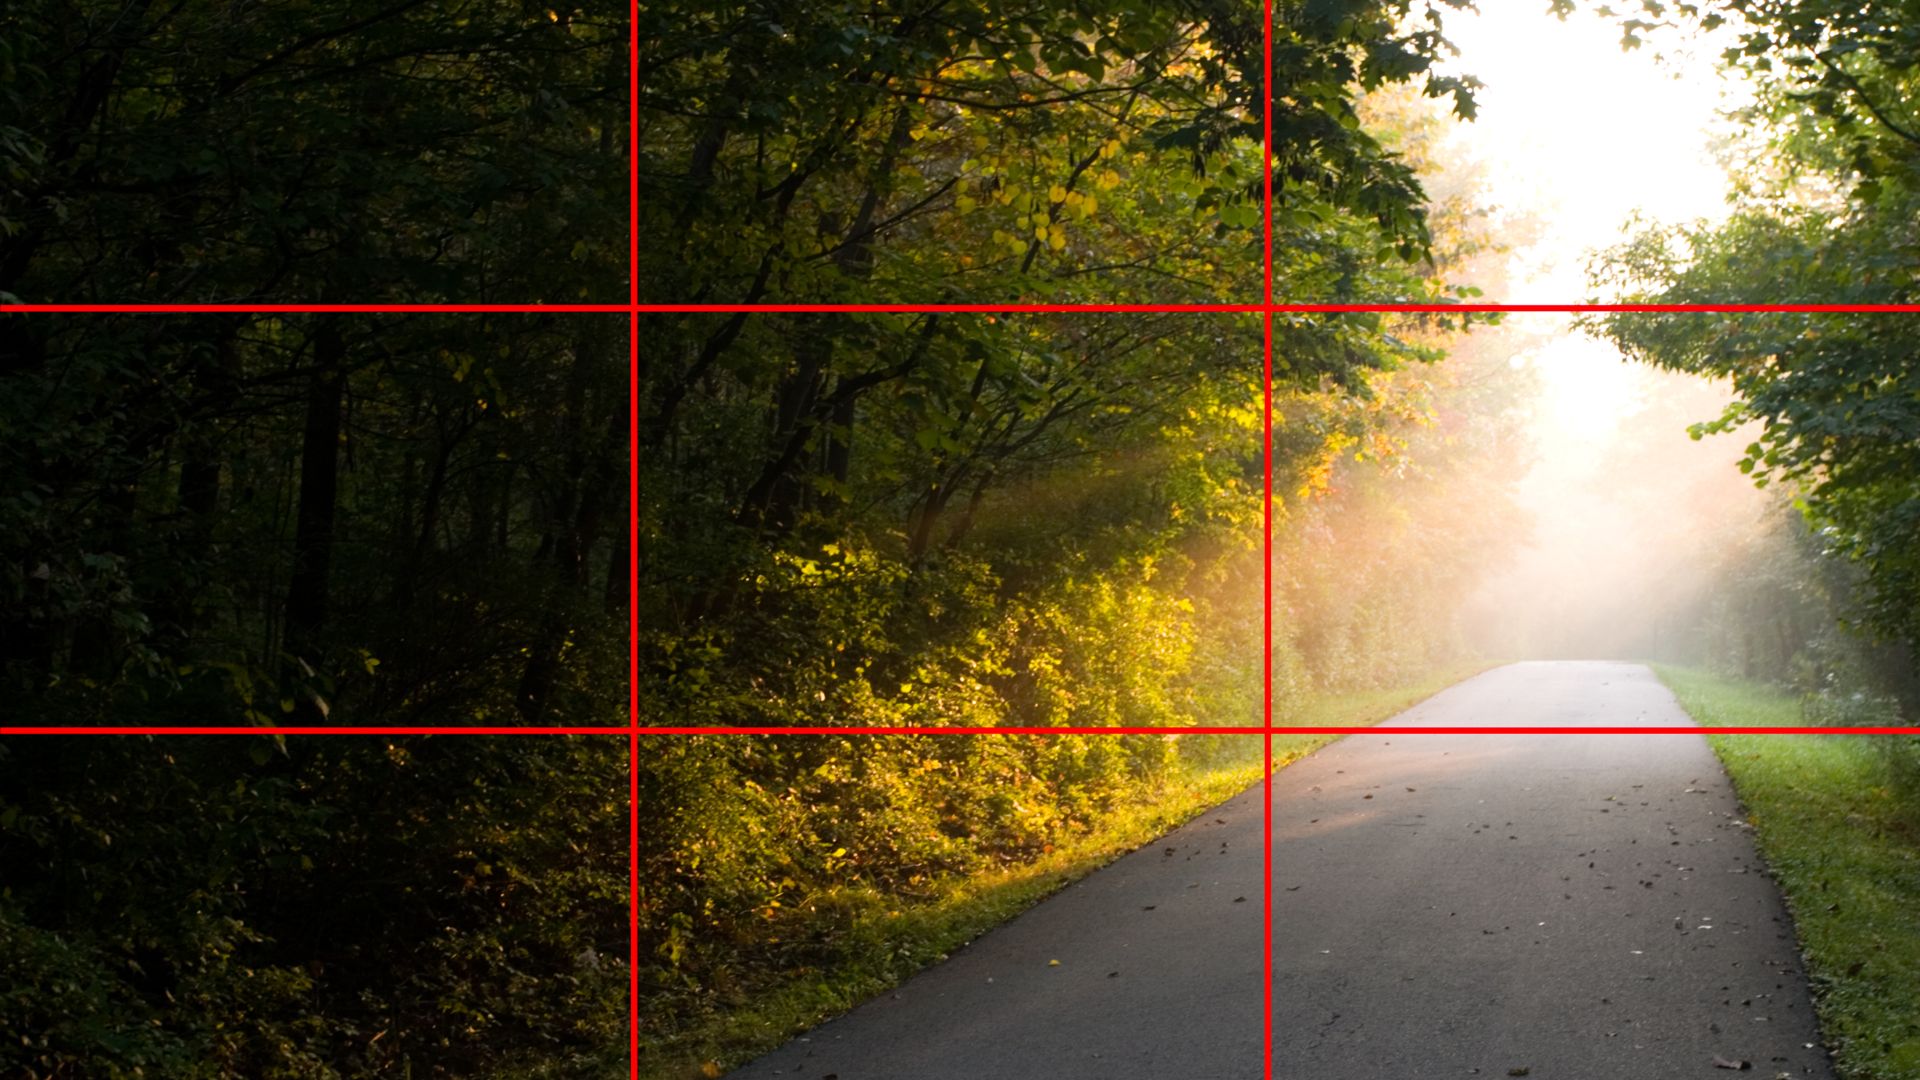
6. Compose A Shot Poorly
Slapping the subject at the center or cropping awkwardly makes even beautiful locations feel underwhelming. Without intentional framing—like considering background, angles, lighting, and space—the final image rarely captures the energy or perspective you were aiming for.
7. Skipping Location Research Beforehand
Wing-it photography has a low success rate. You may miss hidden angles or, even worse, unknowingly disrupt local customs. Scouting ahead—online or on foot—makes your shots smarter and more respectful.

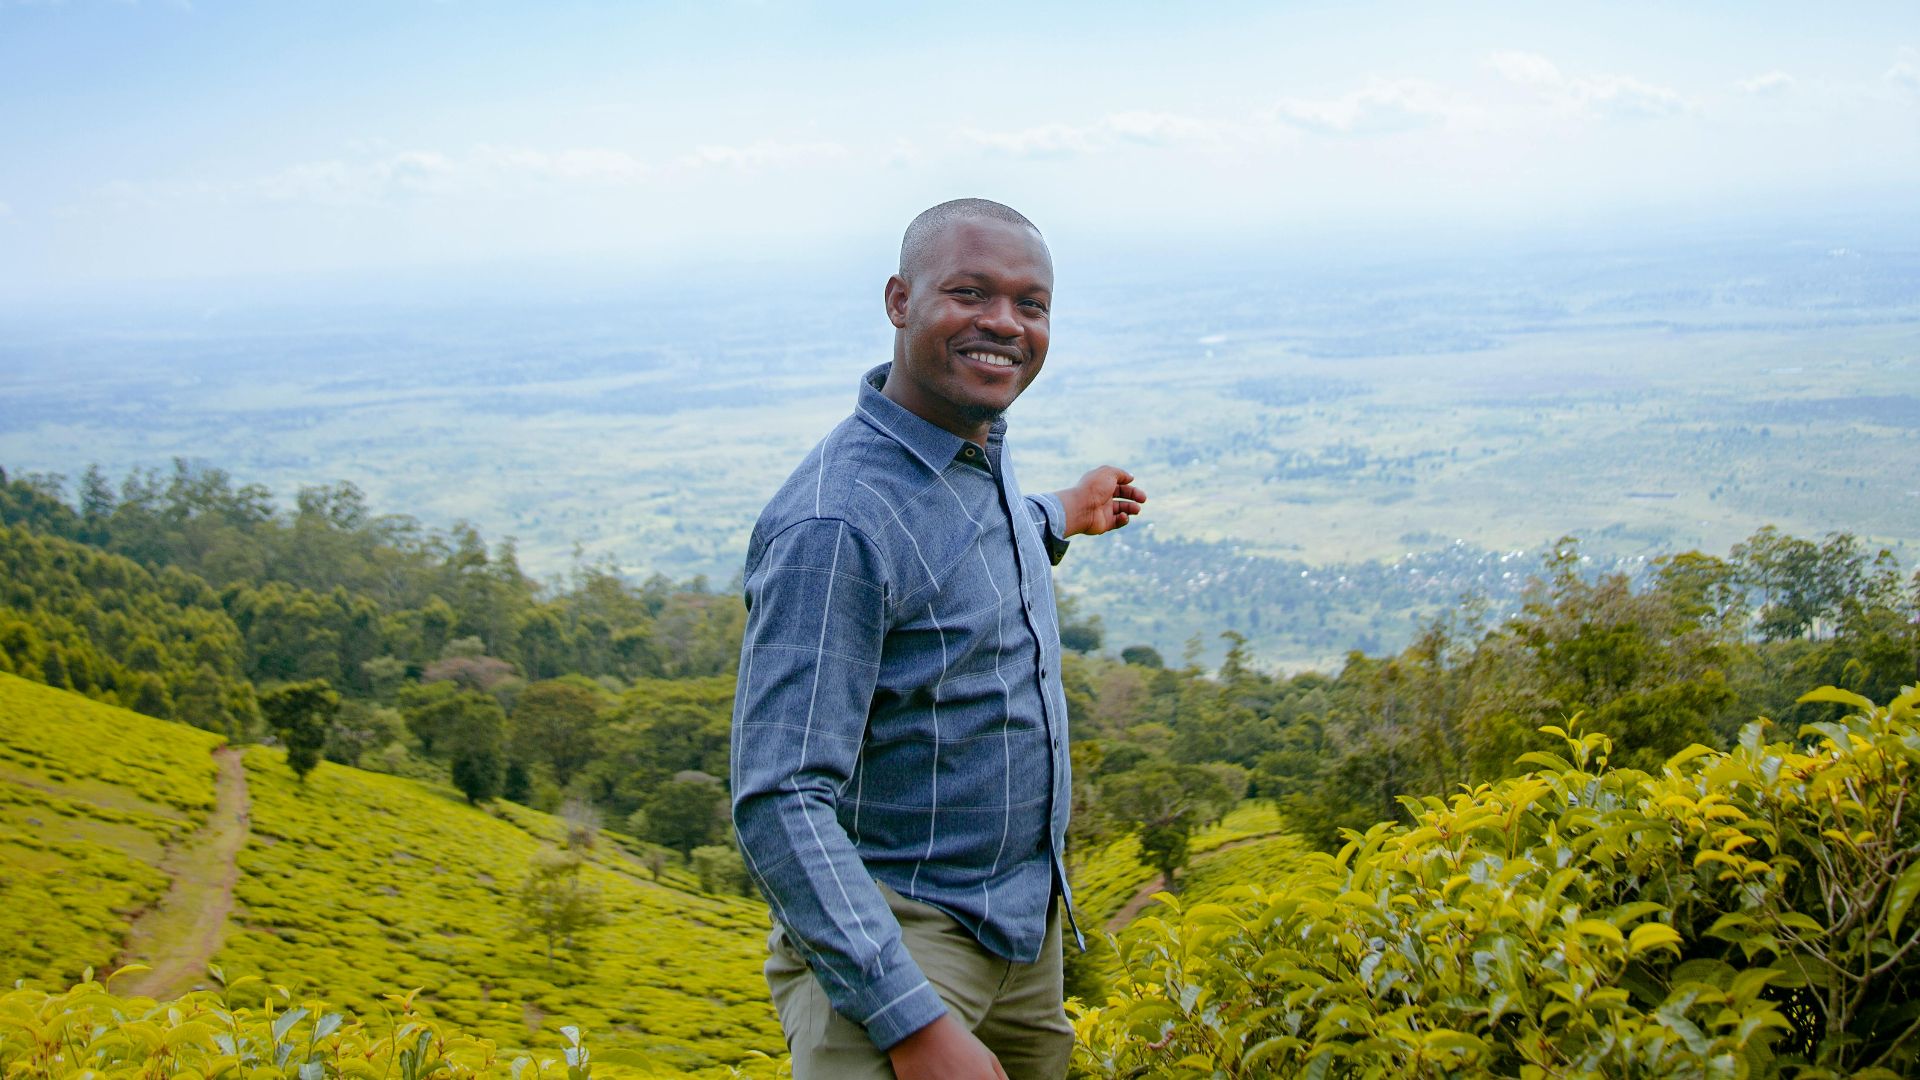
8. Leaving People Out Of The Frame
Wide-open terrains may look splendid, but without scale, they fall flat. Rachel Claire’s mountaintop image shows how a person adds proportion and connection. A lot of people forget this and end up with captures that feel distant or hard to relate to.
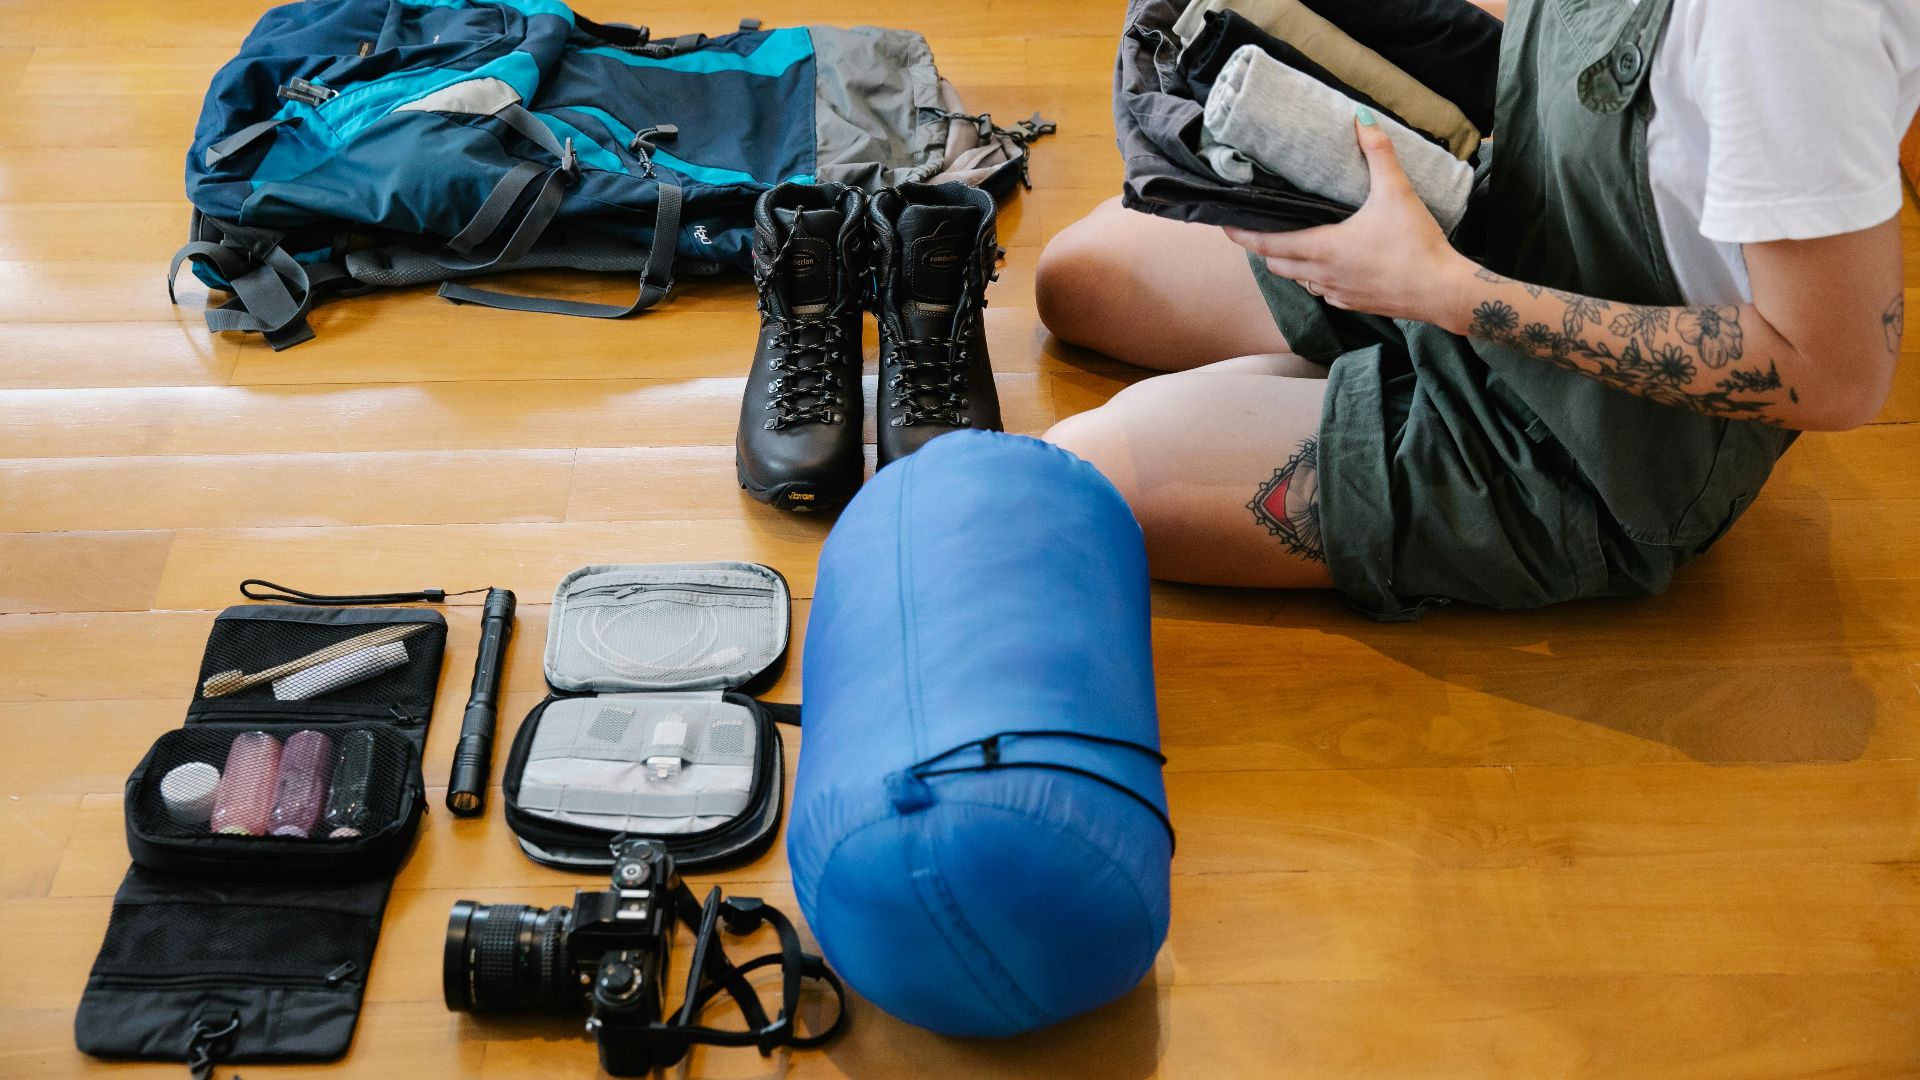
9. Packing Way Too Much (Or Too Little)
Overpacking slows you down; underpacking limits your options. The sweet spot is packing just enough to be prepared without dragging your whole kit. Most travelers end up using only a small portion of what they bring, anyway.
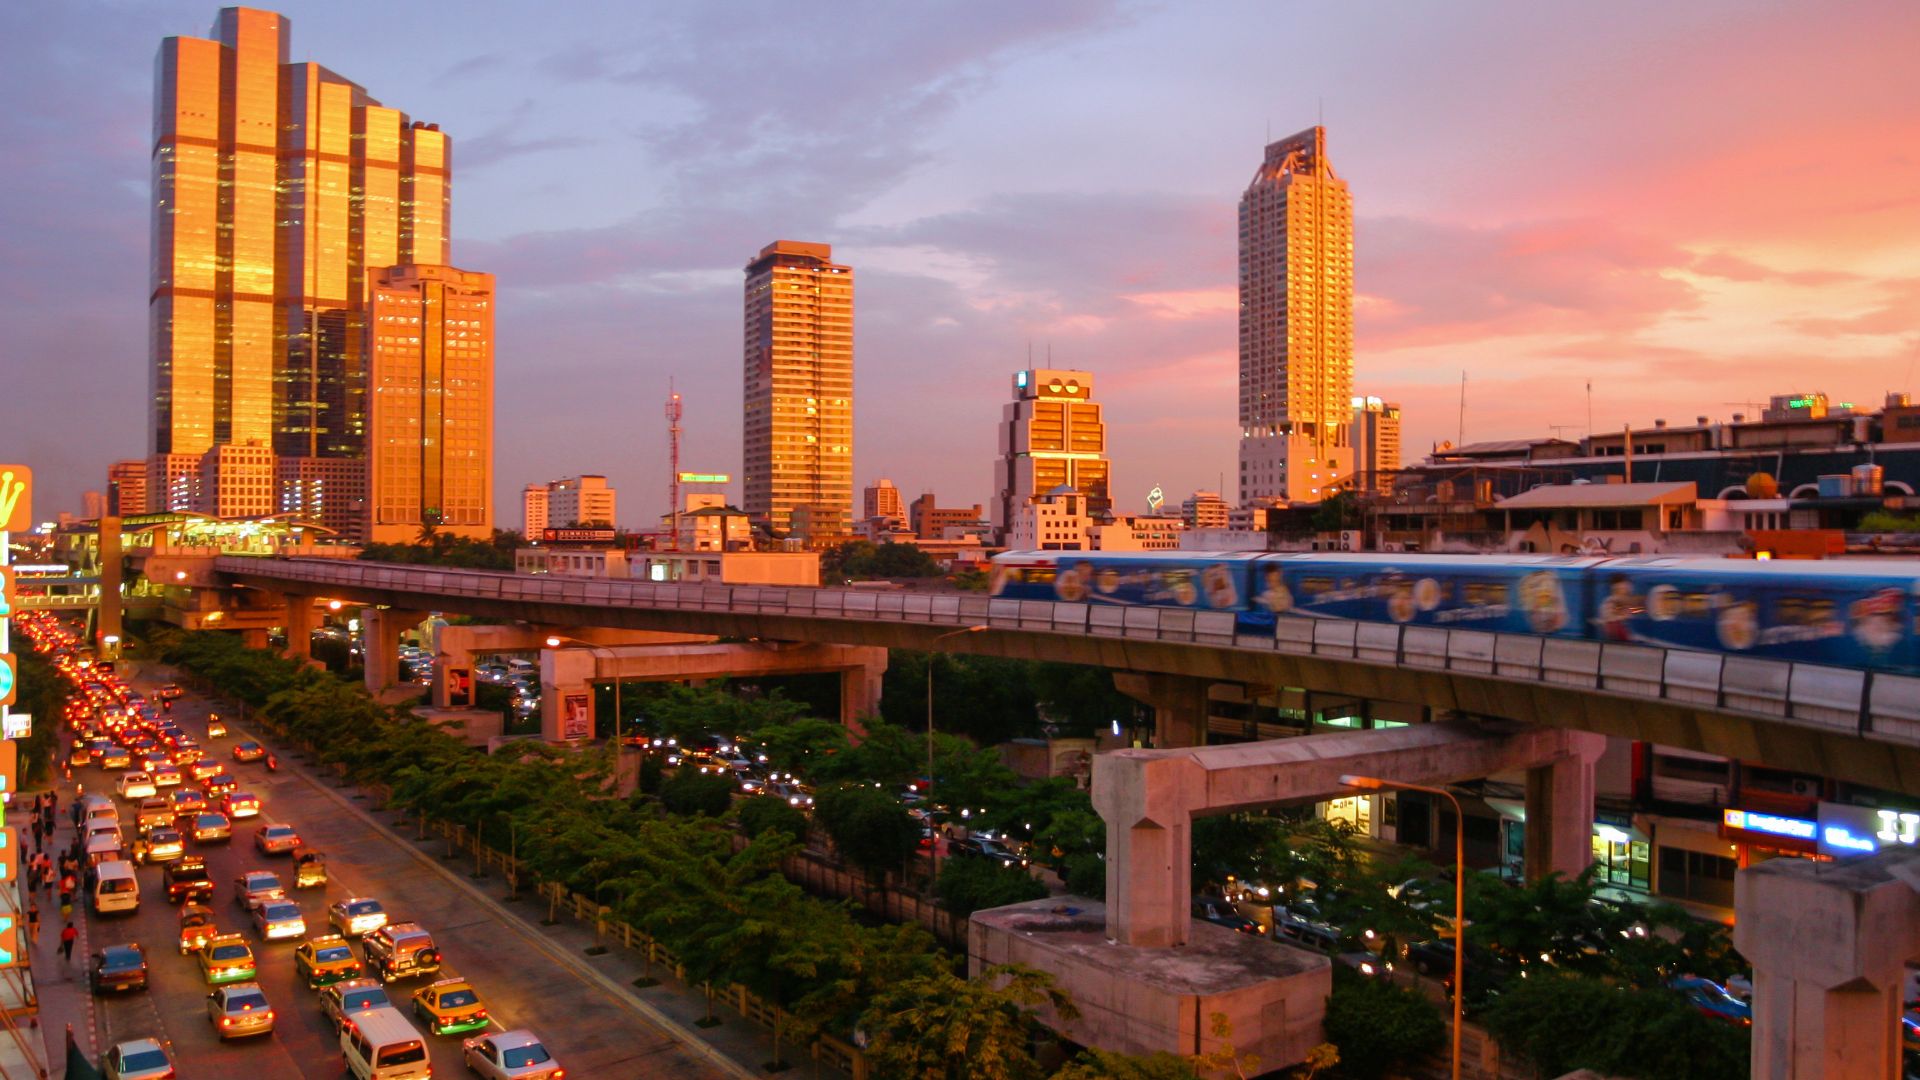
10. Sleeping Through Golden Hour
That warm, dreamy light just after sunrise or before sunset is photography gold. Miss it, and you’re left with flat mid-day shadows. Wake up a bit earlier or hold off on dinner to catch nature at its best.

Now let’s turn the lens toward what actually works. The next 10 are tips for perfect photos.
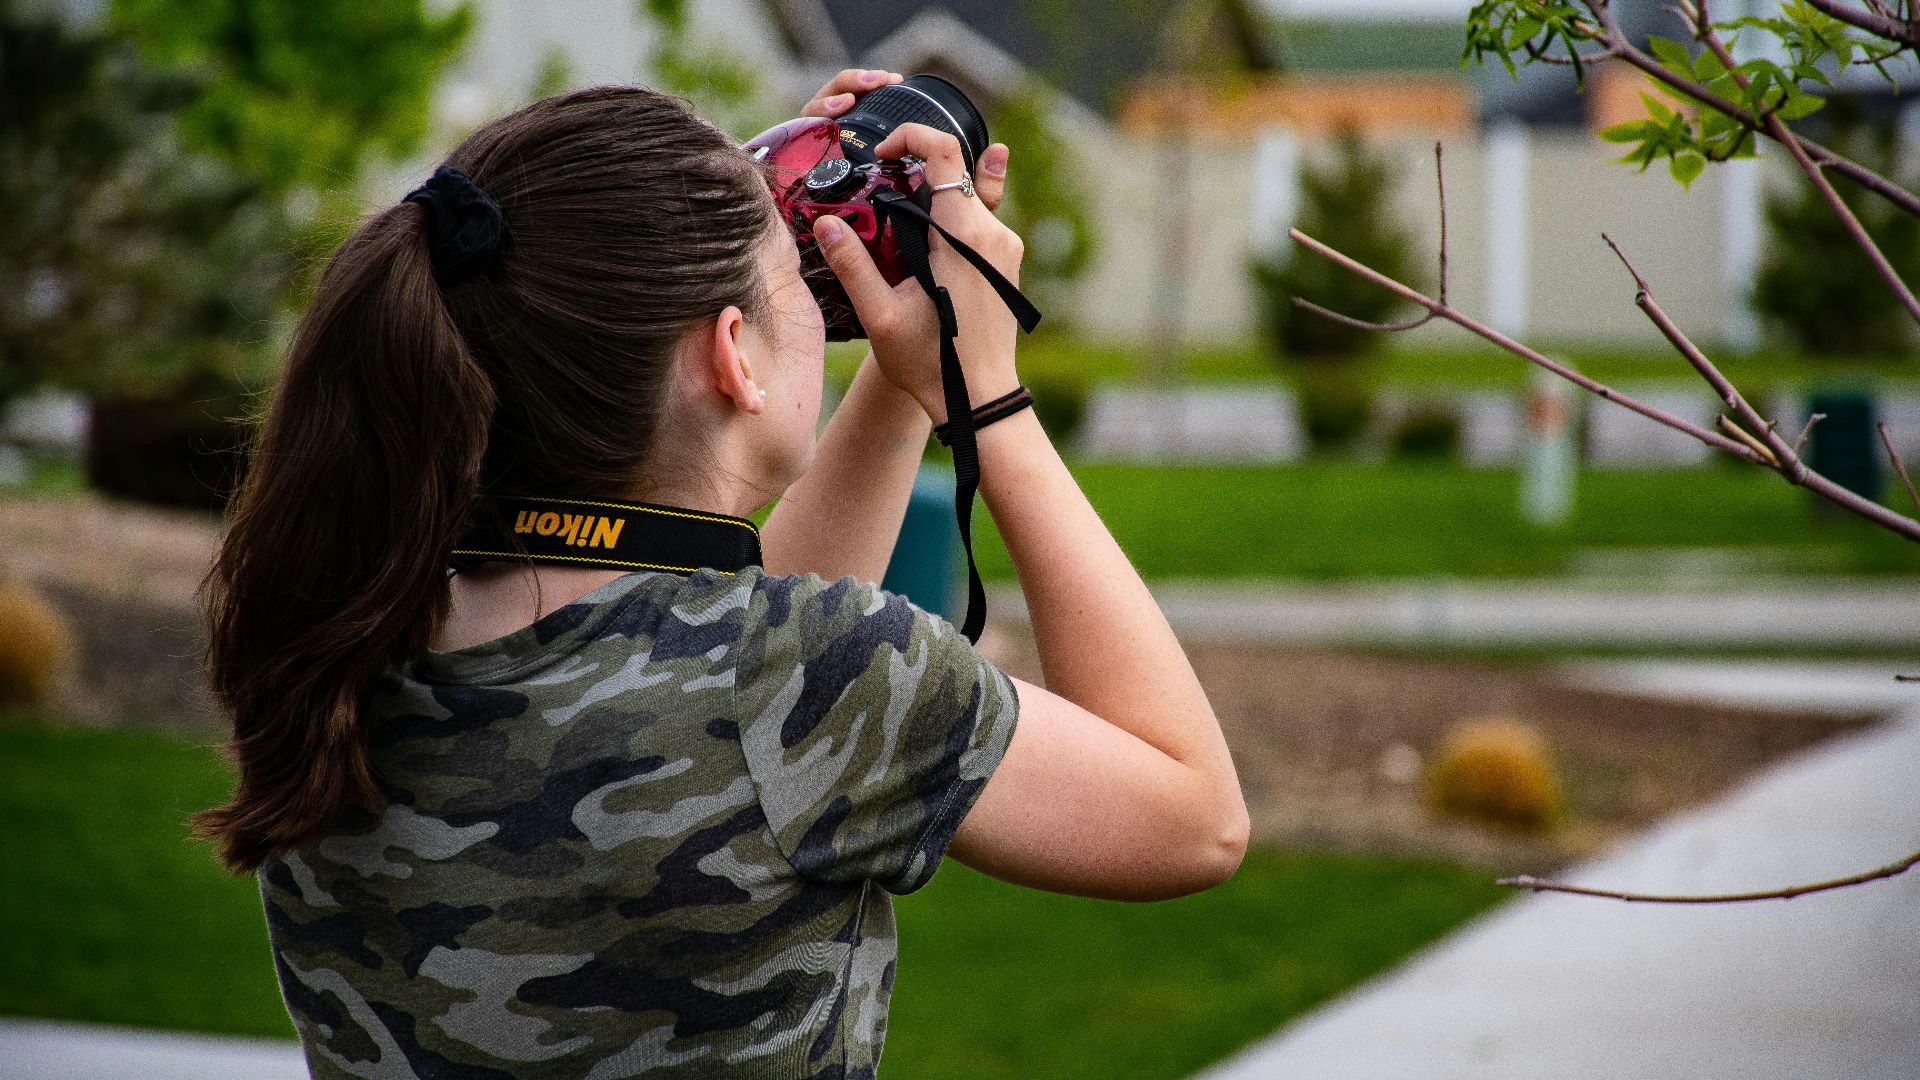
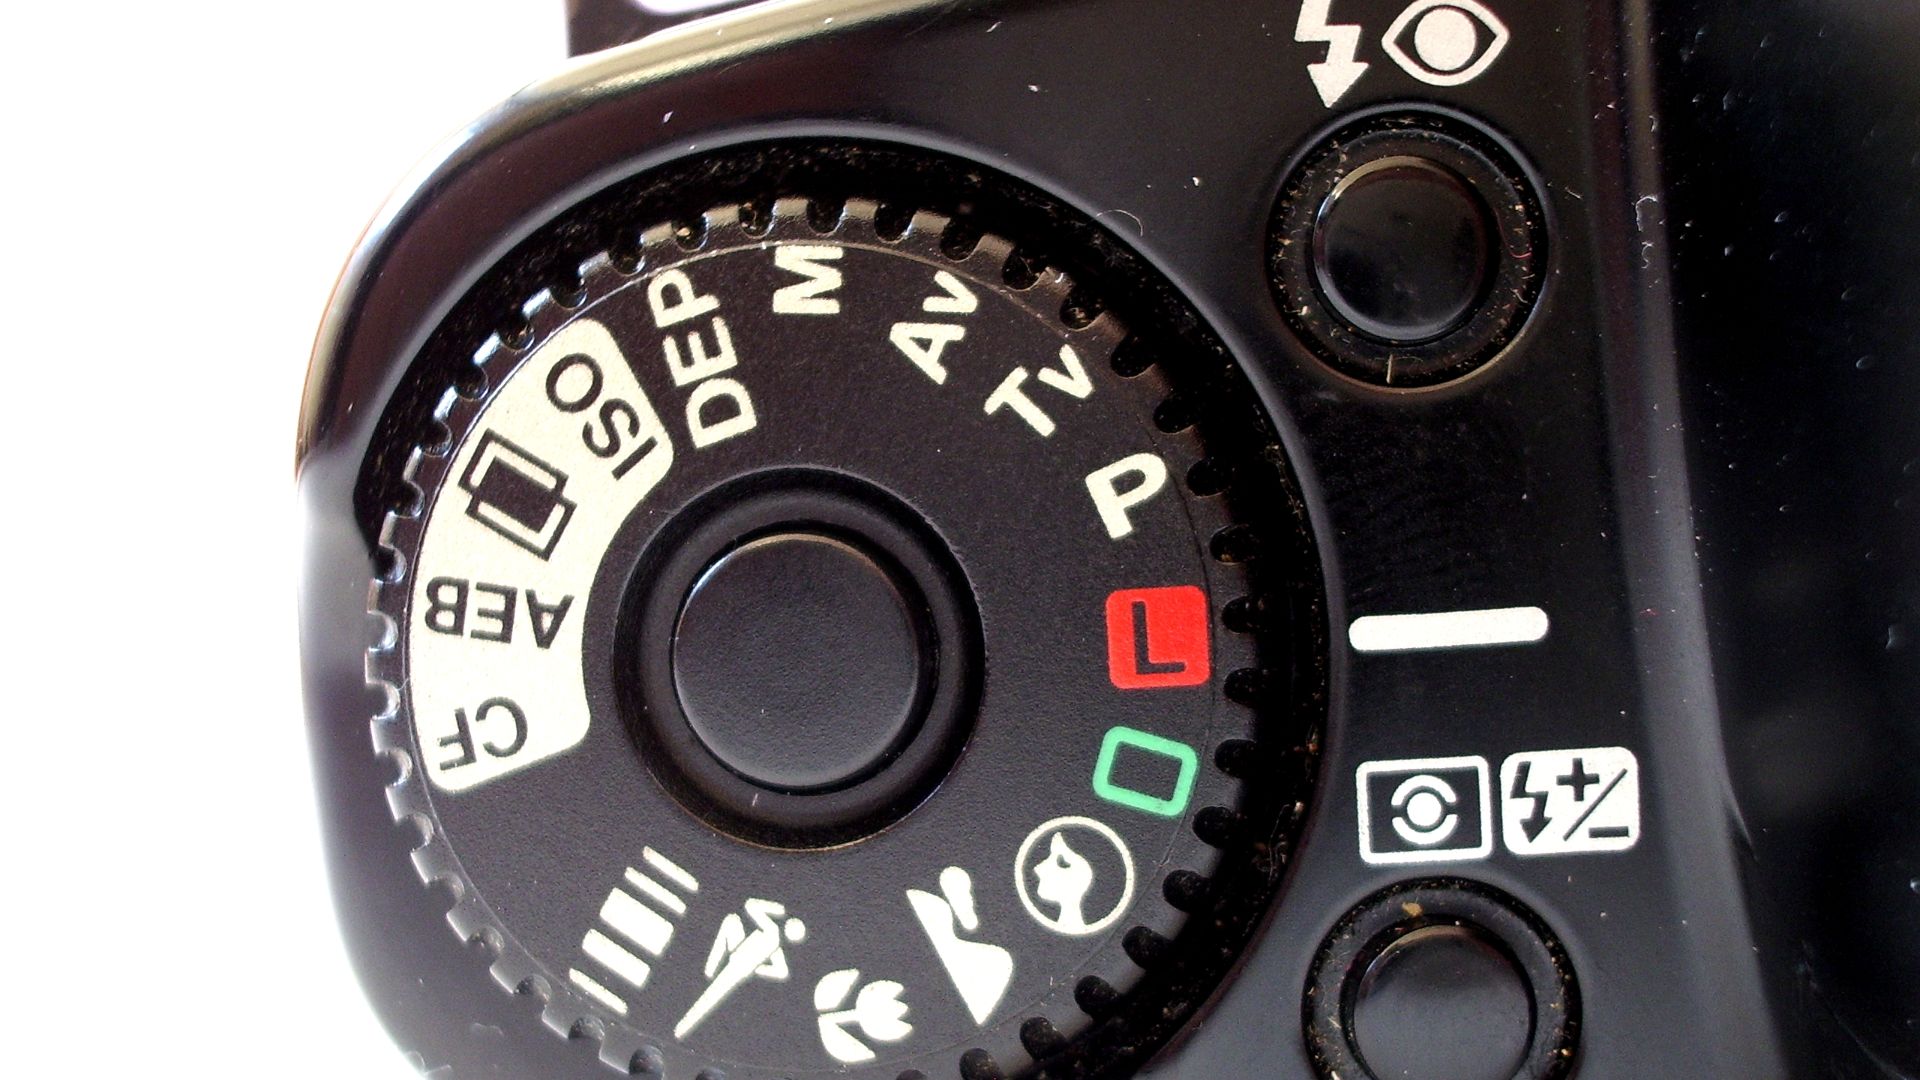
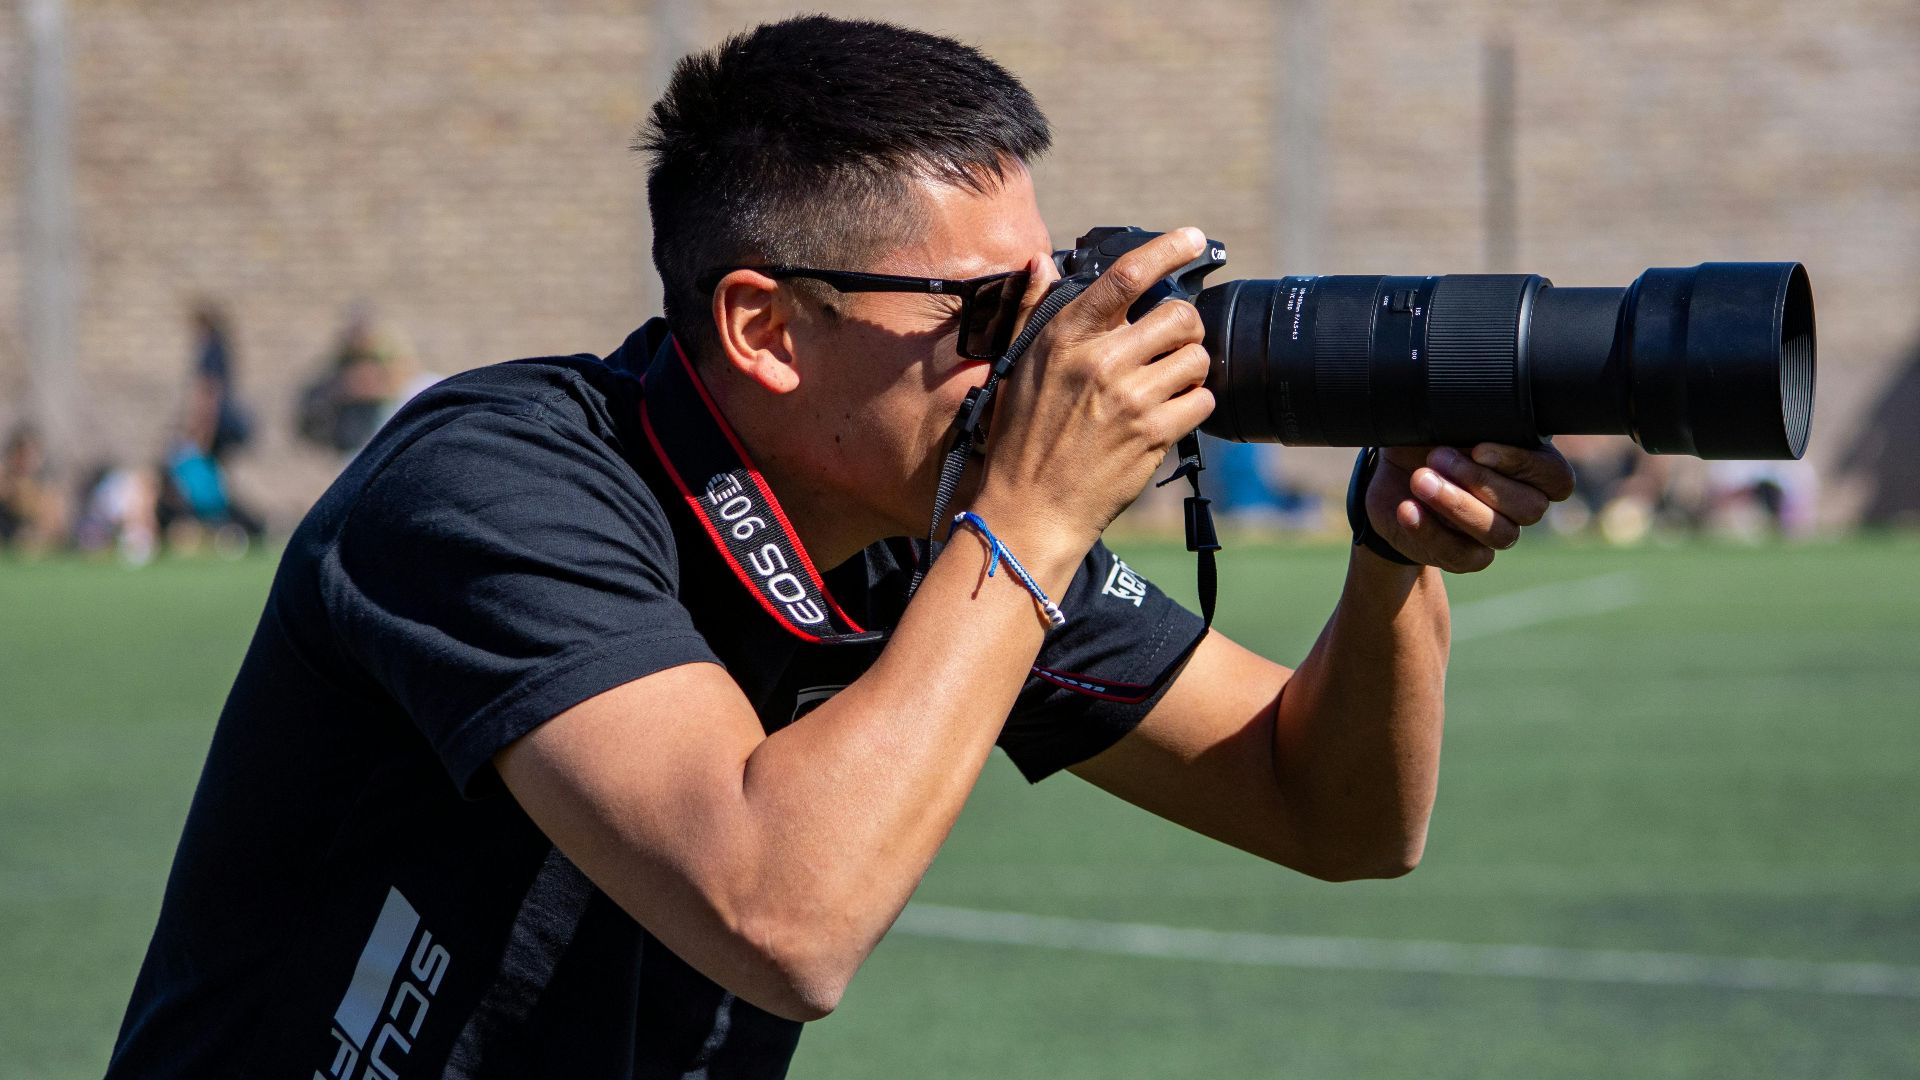
1. Learn Manual Settings Before You Fly
Reading the manual once won’t cut it. Getting hands-on with aperture, ISO, shutter speed, and focus beforehand sharpens your control over exposure. When you know your camera inside out, you can take better shots confidently.
 ML5 at English Wikipedia on Wikimedia
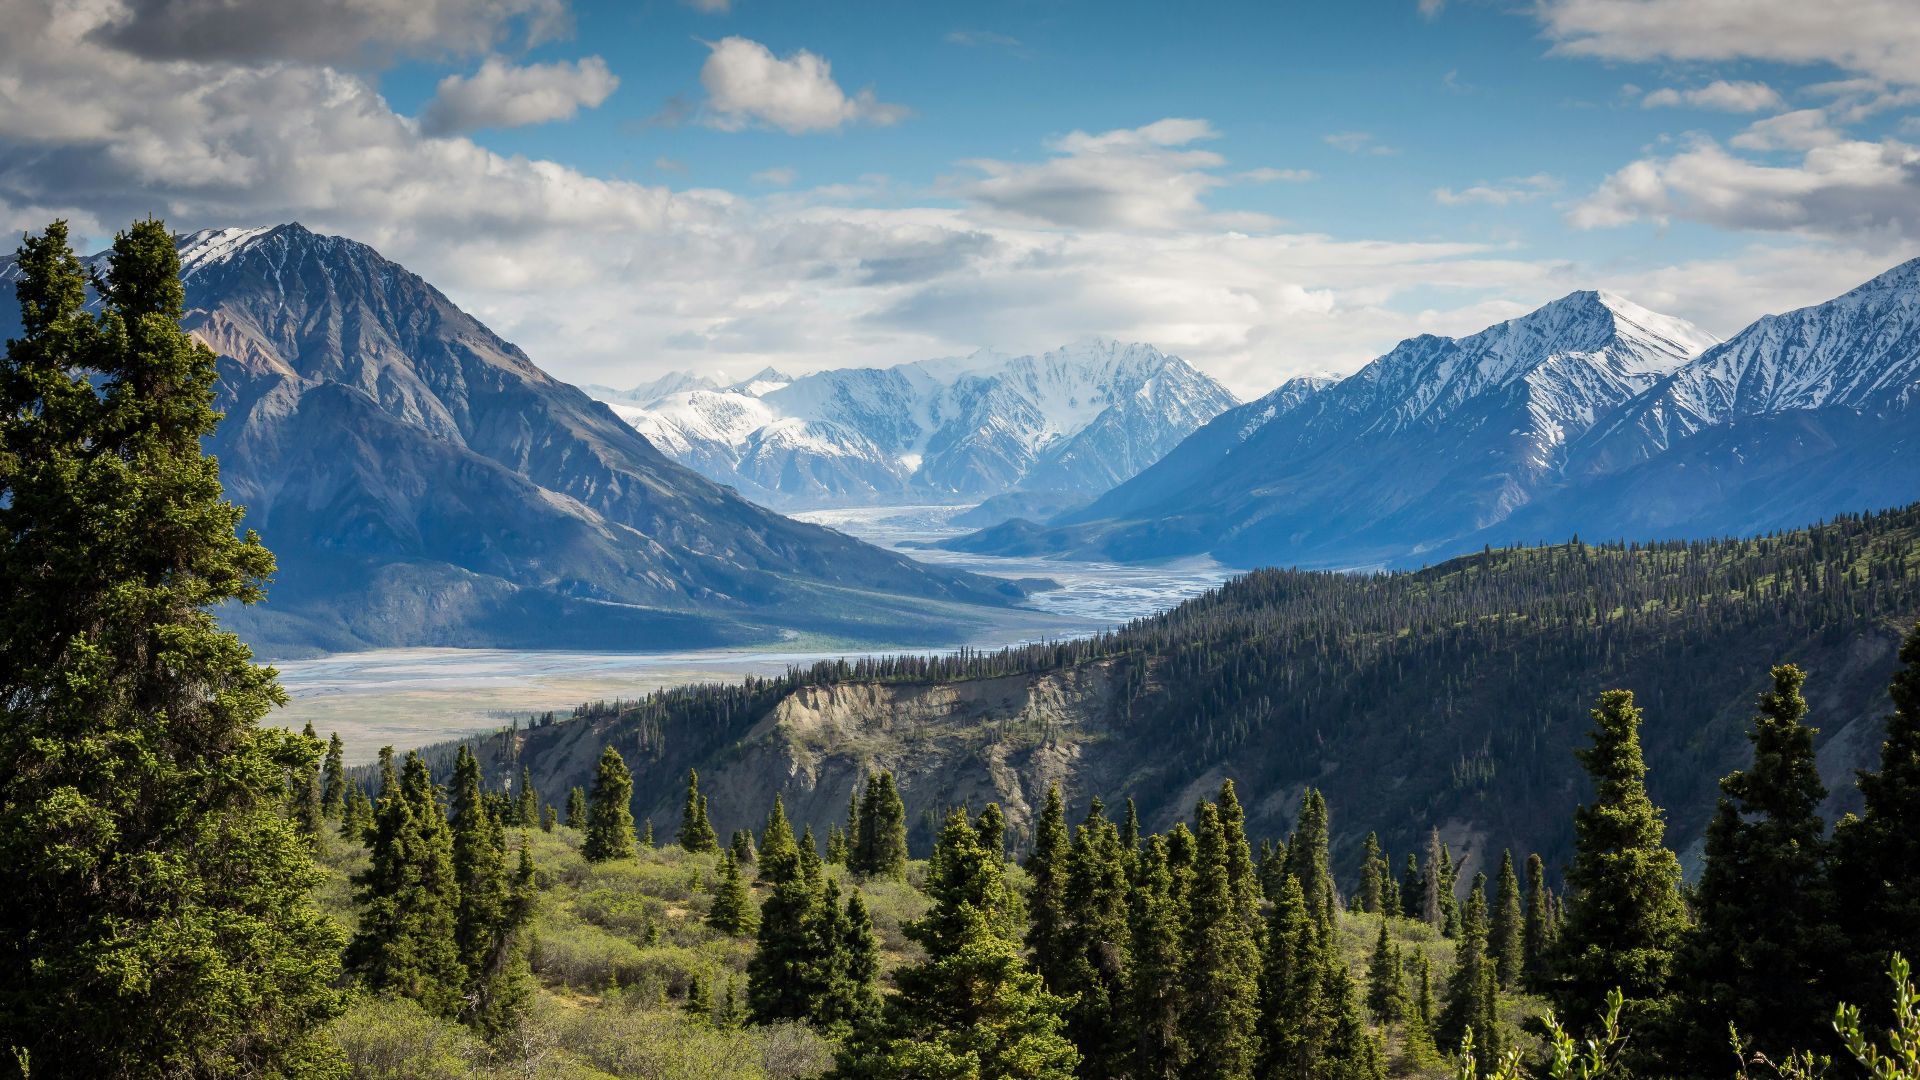
2. Prioritize Golden Hour Light
The soft, amber light after sunrise and before sunset makes even average scenes feel cinematic. If you look up sunset images, they’ll prove to you how dramatically it enhances color and mood, especially compared to the harsh, shadow-heavy light of midday.
3. Shoot In Bursts, Then Curate
Don’t settle for a single frame. Capturing multiple shots gives you choices when it is time to edit. Expressions or motion can shift quickly. However, with more shots, you get more chances to land a perfect one.
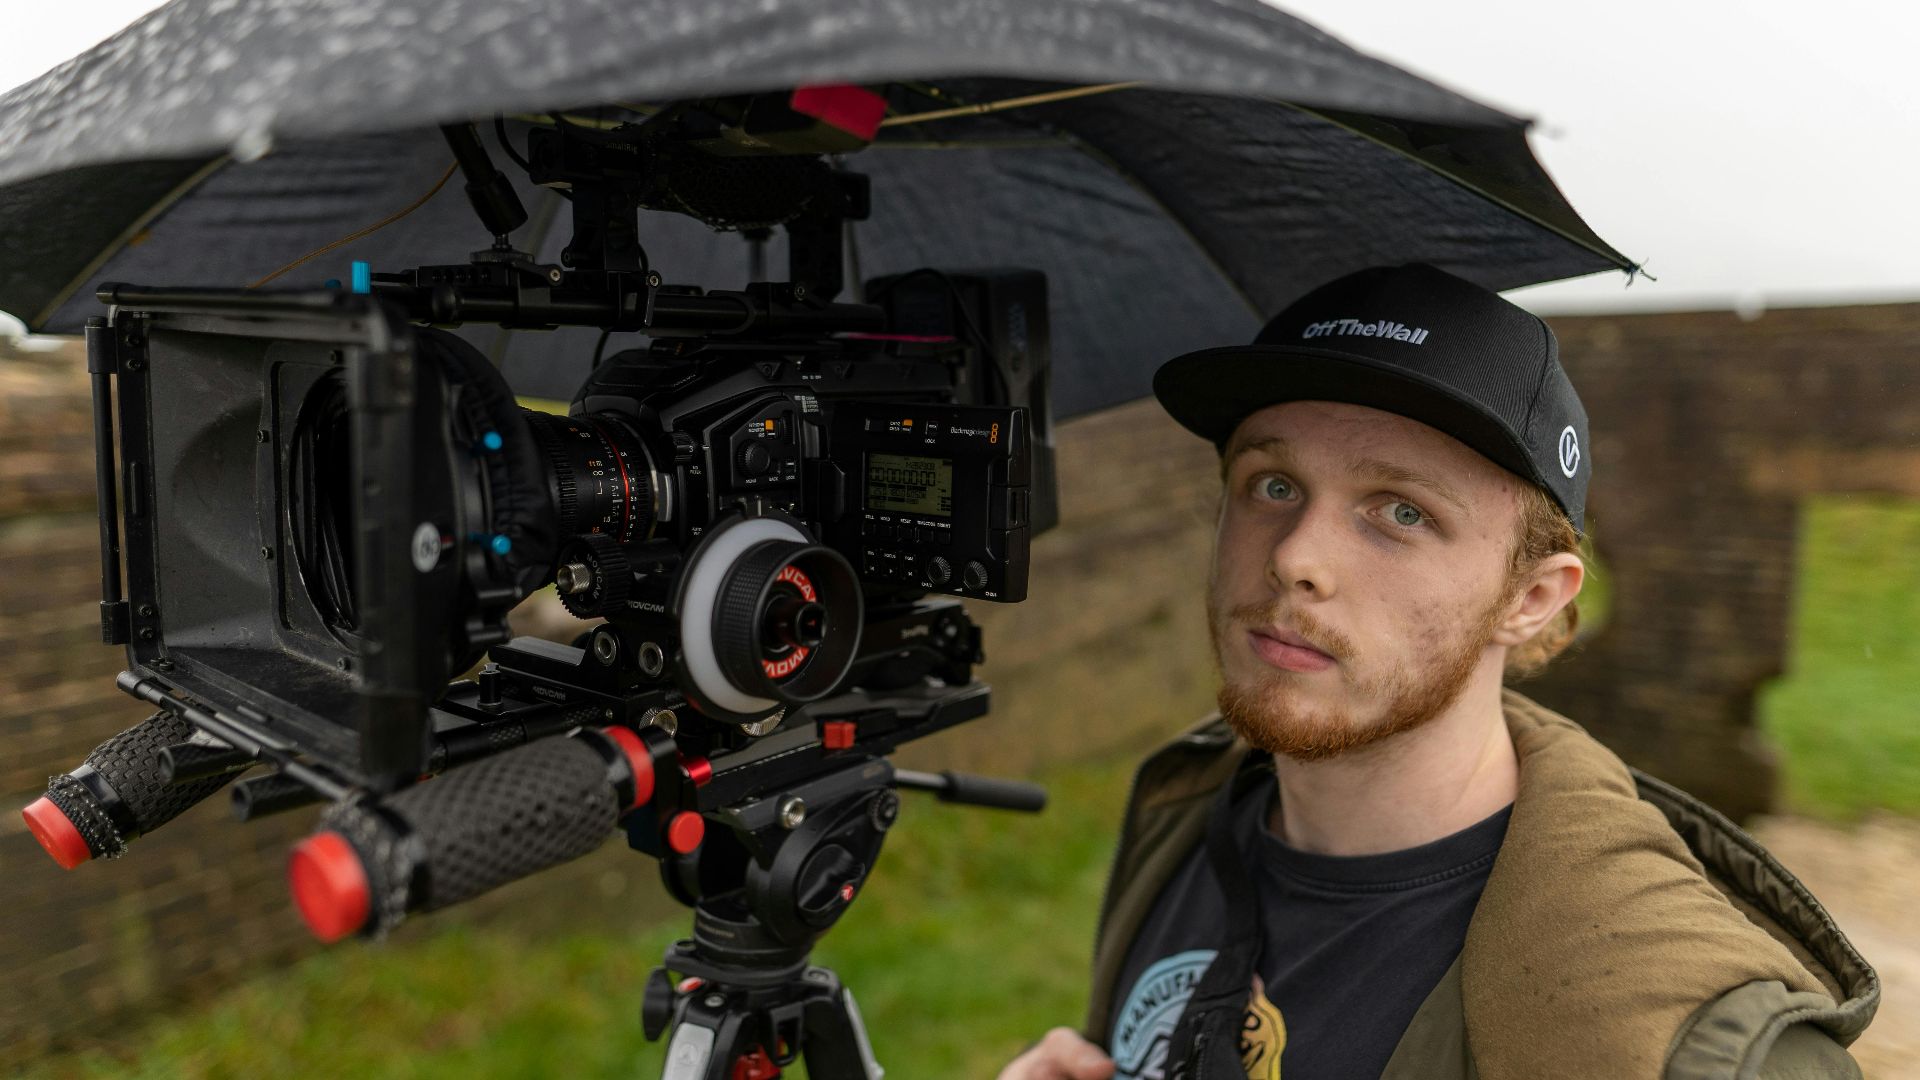
4. Protect Gear Like It’s Irreplaceable
Some travel environments are unforgiving, and replacing gear isn’t always an option. Move prepared! Padded dividers and are essential for shielding cameras from moisture and impact.
5. Use Priority Or Manual Modes
Aperture priority controls your background blur, and shutter priority handles movement, whether freezing action or embracing motion blur. The manual gives you control over lighting quirks. Creative exposure is the result of an intentional mode shift.
6. Compose Like A Pro, Not A Tourist
Frame a shot with intention by positioning your subject off-center. Use natural lines to lead the eye, and layer elements from foreground to background to add structure and visual interest. These basic composition techniques create rhythm and depth.

7. Scout The Scene Before You Shoot
Guess your way through a location and you’ll miss moments. However, learning about lighting conditions and cultural expectations helps you shoot with purpose. Know when and where to be, and how to act, for your photos to come out thoughtful.
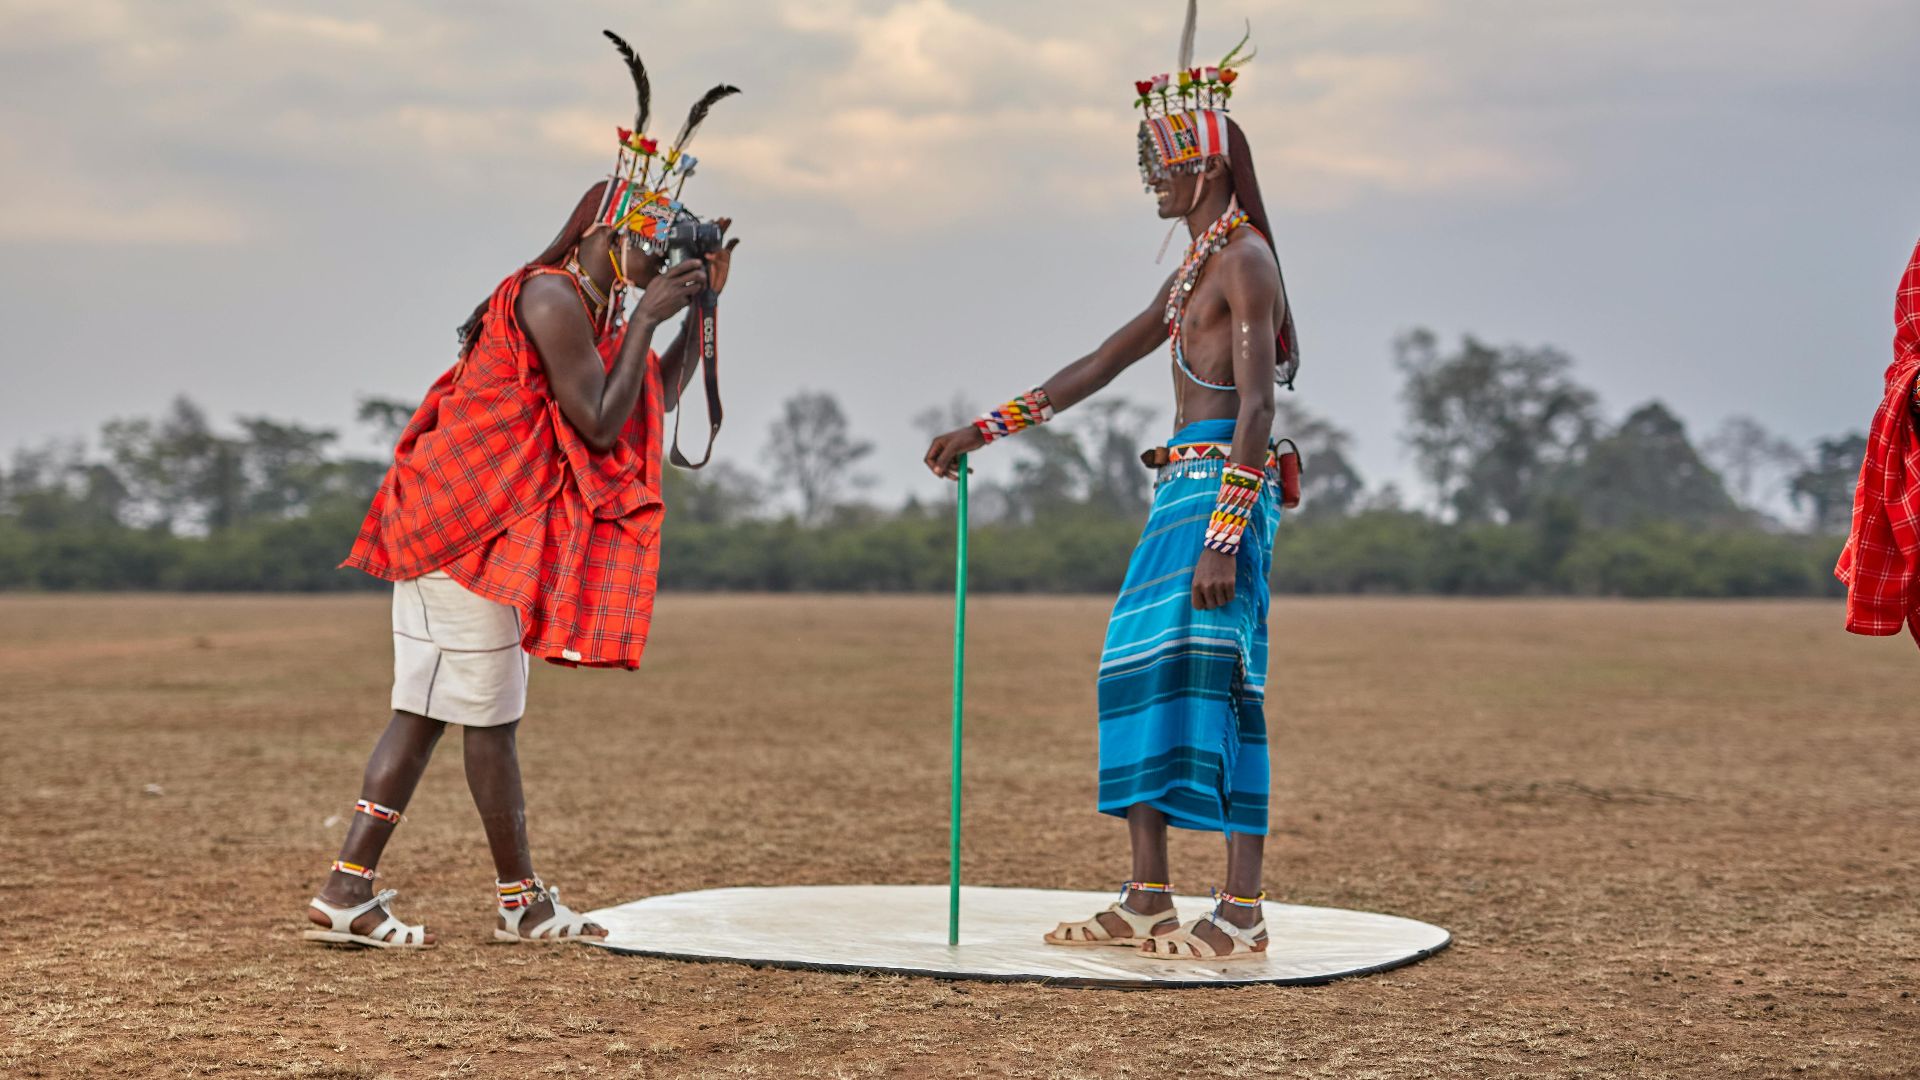
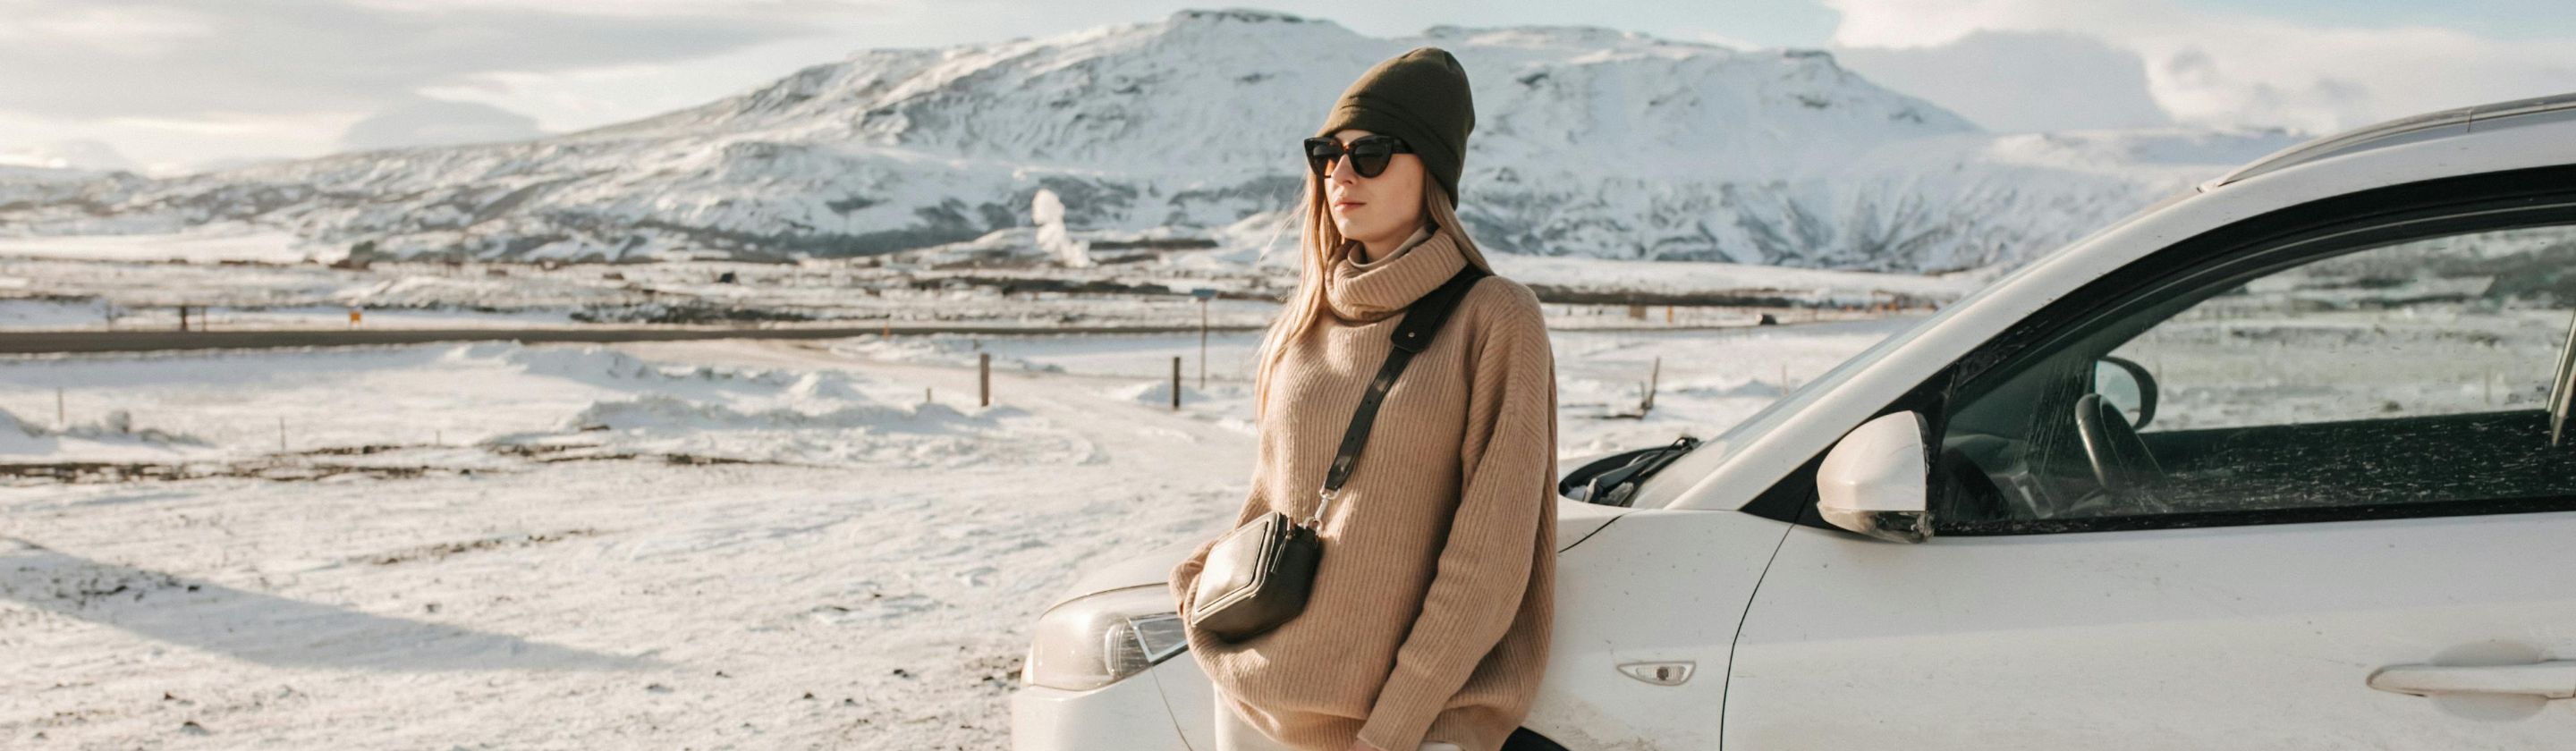
8. Add Humans Or Objects For Context
Backgrounds without scale can feel distant. Adding a person or familiar object gives the viewer something to connect with and makes the setting feel lived-in. Including context creates visual storytelling that pure scenery just can’t deliver on its own.
9. Pack Light, But Pack Right
Overloaded gear bags slow you down and wear you out. Bring a few backup essentials, and carry a weather-resistant bag that’s comfortable to move with. Tailor your setup to the trip so you can stay mobile without sacrificing readiness.
 Jose Hernandez-Uribe on Unsplash
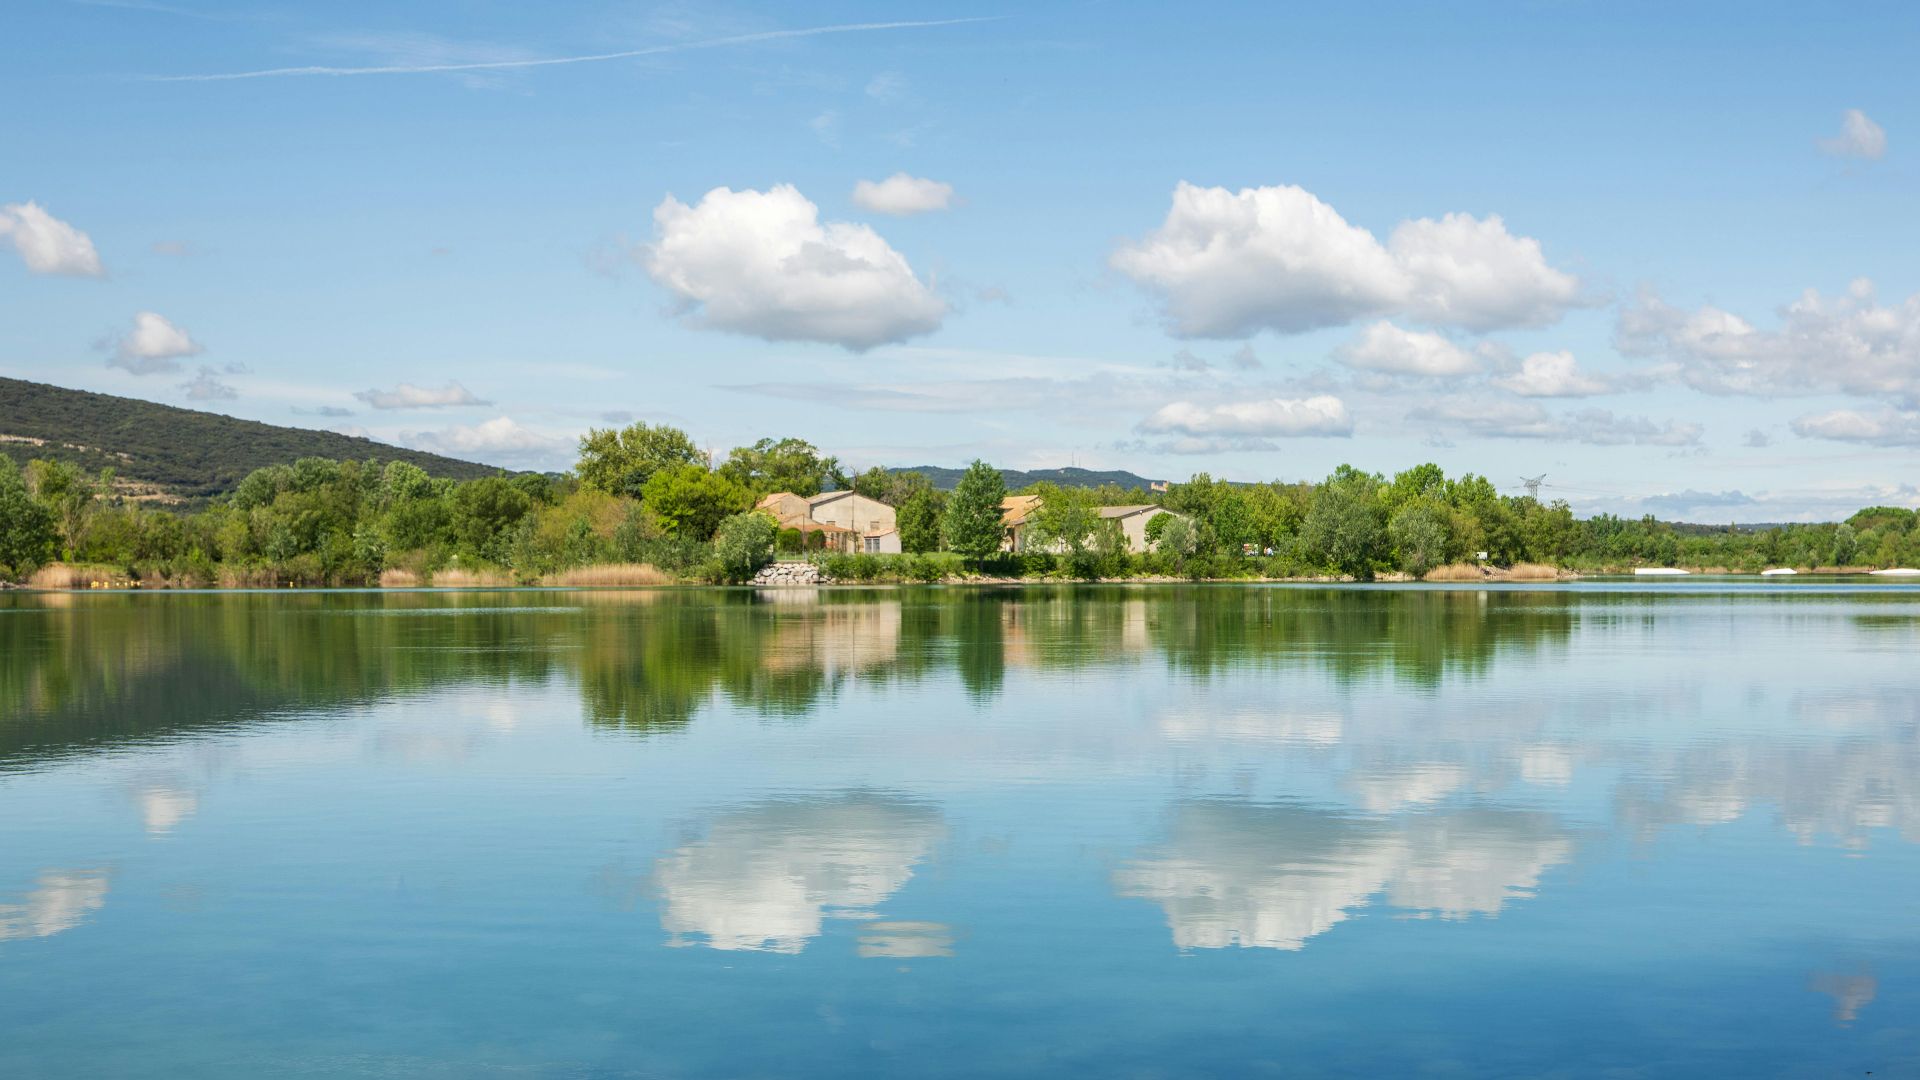
10. Use Reflections And Shadows Creatively
Look for mirrors, puddles, lakes, glass, or long shadows since they add visual intrigue with minimal effort. A well-placed reflection can double your composition, while a dramatic shadow adds shape and story. These natural elements act like built-in editing tools for mood and balance.